


Category:Uncategorised

Further to the Assembly Manual provided with your trampoline, Vuly recommends the following installation tips when assembling your Vuly Trampoline.
Follow the instructions below to aid you in the speedy and efficient set-up of your new trampoline.
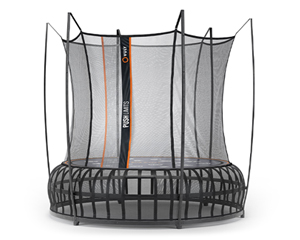
- Avoid attaching the net hooks, then re-attaching them facing the opposite direction. There is only one hole drilled in the lower section of the lower net pole that inserts into the square joint. Ensure that the elastic part of the elastic net hooks is facing the opposite side to which the lower net pole is.
- Ensure that the 's' hook is facing down when you attach it to the buckle.
- Avoid repositioning where the net attaches to the mat. Align the hole at the base of the seam in the net with the springs that go on either side of the joint that is just left of where the logo on the trampoline mat is facing. The seam should be positioned so that it is in the centre of the joint.
Still struggling with the assembly of your Vuly Trampoline? Check out our Instruction Videos to save you time and frustration, or call us on 1300 667 514 today!


Article by
Content marketer with expertise in innovative play equipment, Vic is always following the latest trends and developments in this area and trying to find the best options for maximum fun! Vic is also an ex-gymnast with 20 years of experience and holds a science degree, making him an authority on trampolines, monkey bars, and swing sets.